
Affiliate Disclosure: This post contains affiliate links. If you make a purchase through these links, I may earn a small commission at no extra cost to you. As an Amazon Associate, I earn from qualifying purchases. Thank you for supporting CozyClan!
You hand over the craft kit with the best intentions. Twenty minutes later you are the one gluing the beard on Santa while your toddler has wandered off to post a sock behind the radiator.
Most toddler ornament ideas are really adult ornament ideas with a toddler sitting nearby. The cutting is too hard, the glue dries too slowly, and the finished thing has to look a certain way, so somebody steps in and finishes it.
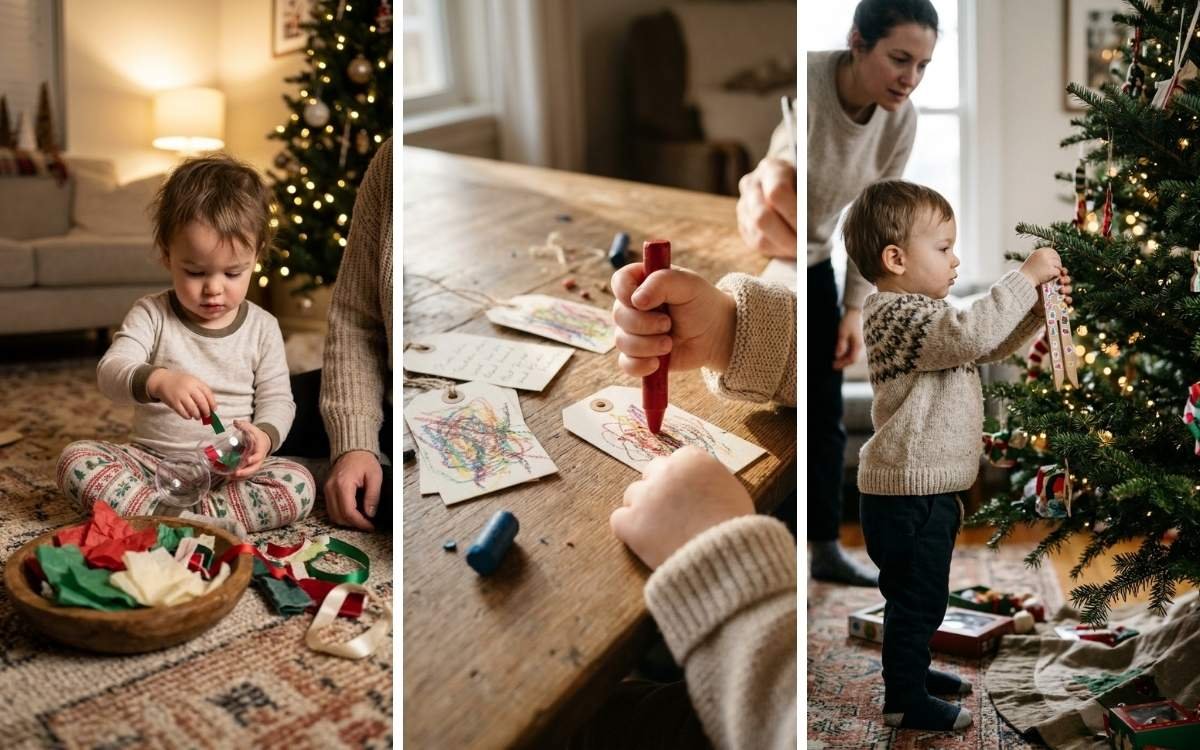
This list works the other way around. Every one of these Christmas ornaments a 2-year-old can actually make follows the same rule: you do the cutting, the hole punching and the hanging, and your child does everything in between without being corrected. No scissors in small hands, no wet glue, and nothing small enough to disappear into a mouth.
One thing before you start. Two-year-old’s still explore with their mouths, so stay close and choose materials with that in mind. Our guide to keeping play materials safe for toddlers covers what to watch for.
Table of Contents
Pick one, set it up on a tray, and let the result be whatever it is.
1. Dot Sticker Bauble
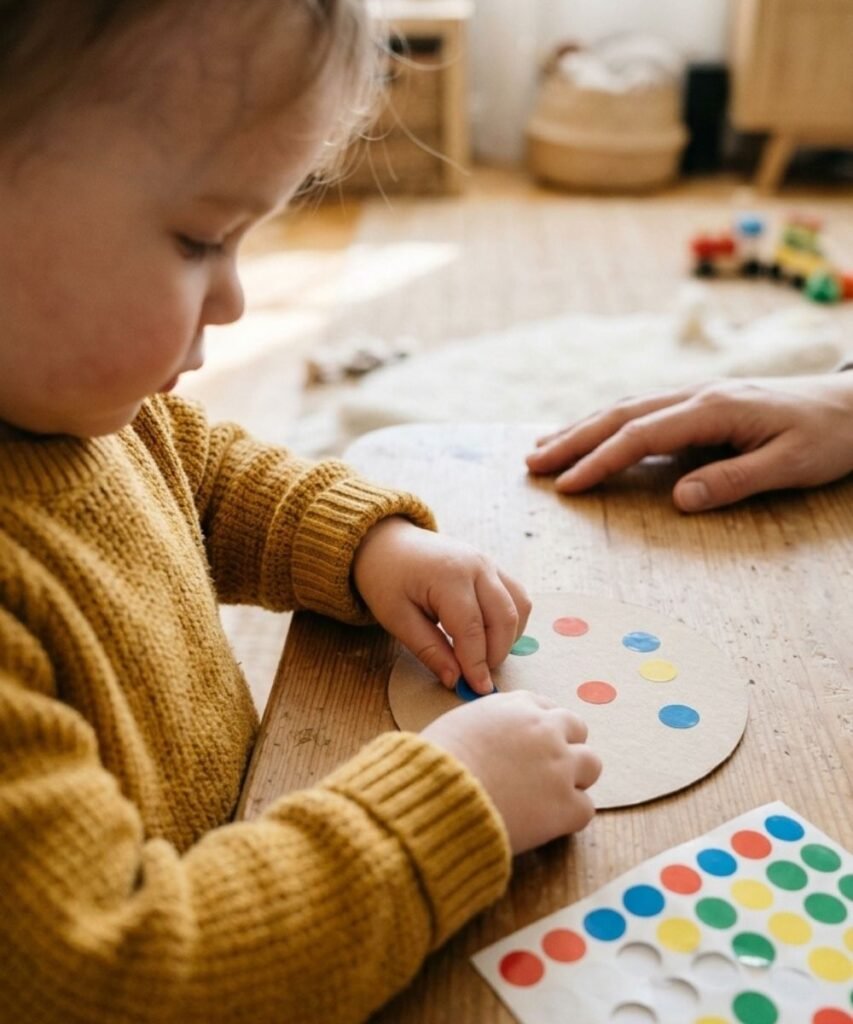
Sticker dots are the gentlest possible entry point, and plenty of children manage them from around eighteen months. Cut a circle from cardstock, punch a hole at the top, and put a sheet of coloured garage sale dots in front of your child.
That is the whole craft. They peel, they press, they cover the same spot four times, and the bauble is finished when they say it is.
Peeling is the tricky part at this age. Lift the edge of two or three dots so they stand slightly proud of the sheet, and most toddlers can take it from there on their own.
- Cut a circle from cardstock, about the size of a jar lid
- Punch a hole near the top edge
- Lift the edge of two or three stickers so they stand up
- Thread the ribbon at the very end
- Peel the dots off the sheet
- Press them anywhere on the circle
- Stack them, overlap them, cover one spot four times
- Decide when it is finished
2. Contact Paper Stained Glass
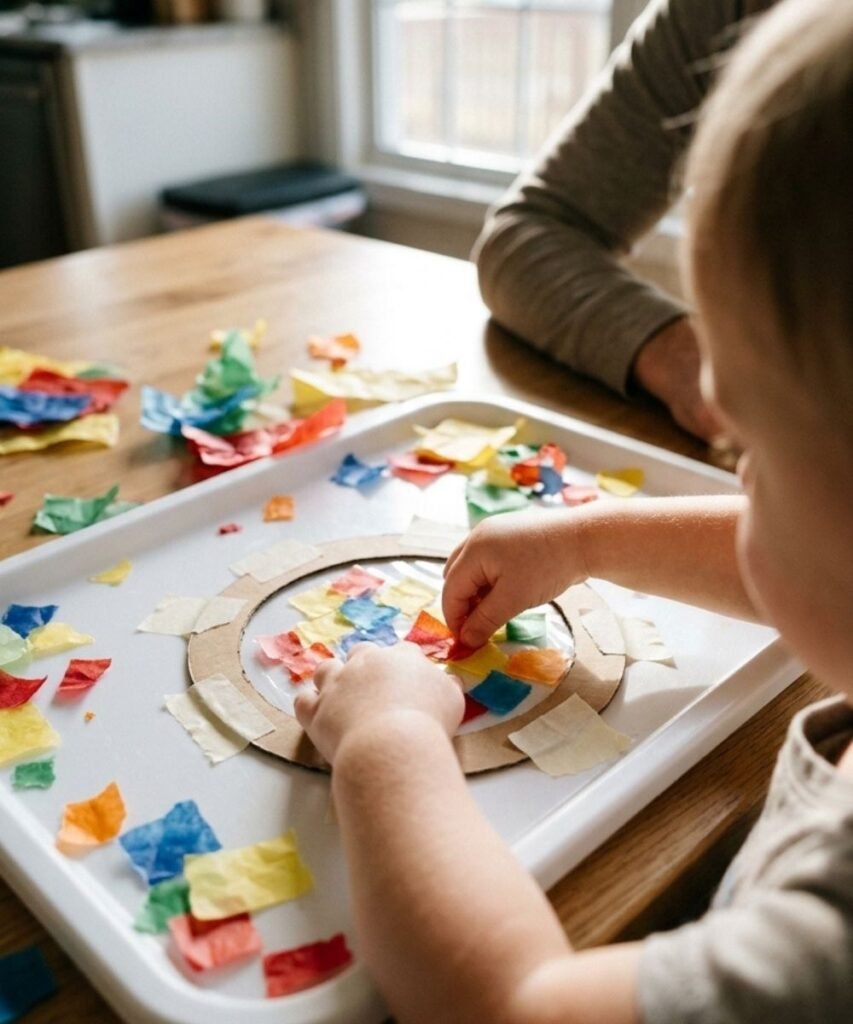
Glue is the step that ends most toddler crafts early, because nothing sticks while it is still wet and small hands lose patience fast. Contact paper removes the problem entirely.
Cut two cardstock rings, tape a square of clear contact paper across one of them, sticky side facing up, and tear coloured tissue into pieces roughly the size of a biscuit. Your child presses the tissue down wherever they like. When they are done, lay the second ring on top to frame it.
Hang it where the light comes through. A window beats a tree branch for this one.
3. Washi Tape Striped Star
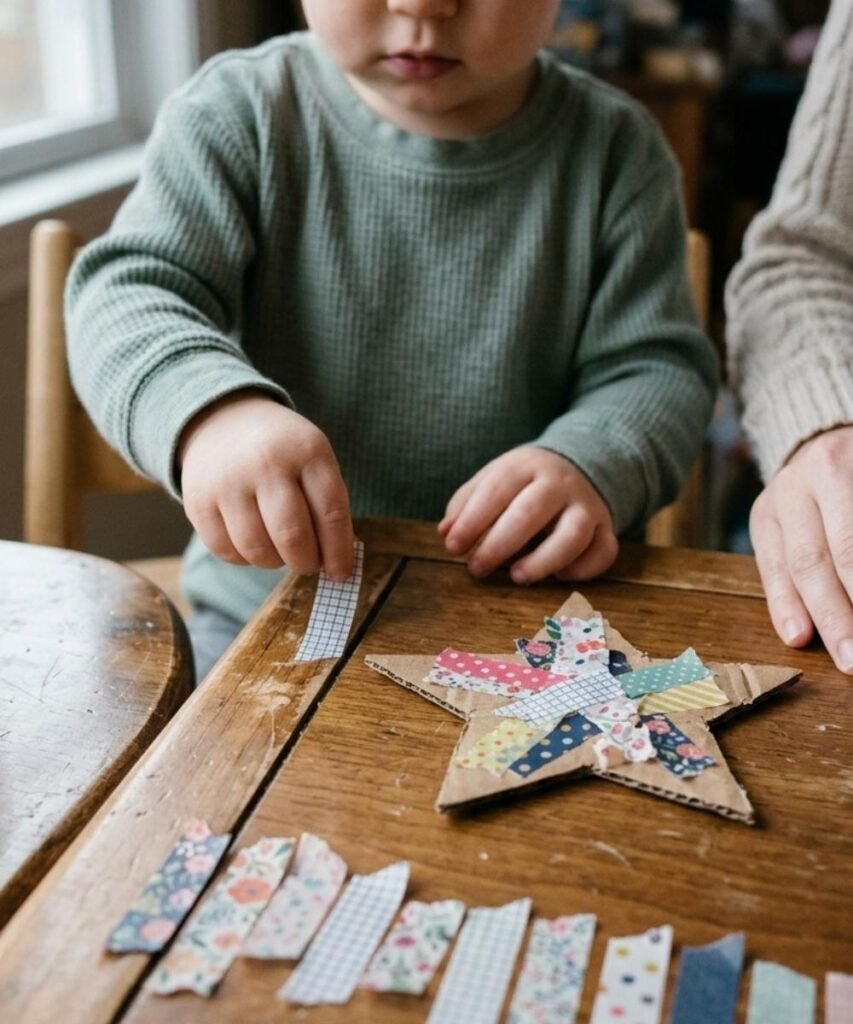
Handing over the whole roll is the usual mistake here. A toddler cannot find the end, cannot tear it, and the roll ends up unwinding across the floor.
Tear eight or ten short strips first and stick them lightly along the edge of the table. Now your child has a row of ready pieces to pull off one at a time and lay across a cardboard star.
Stripes will overlap, run off the edges and double back on themselves. Leave them. Trim the overhanging ends once your child has lost interest, not while they are still working.
4. Scrunched Foil Shape
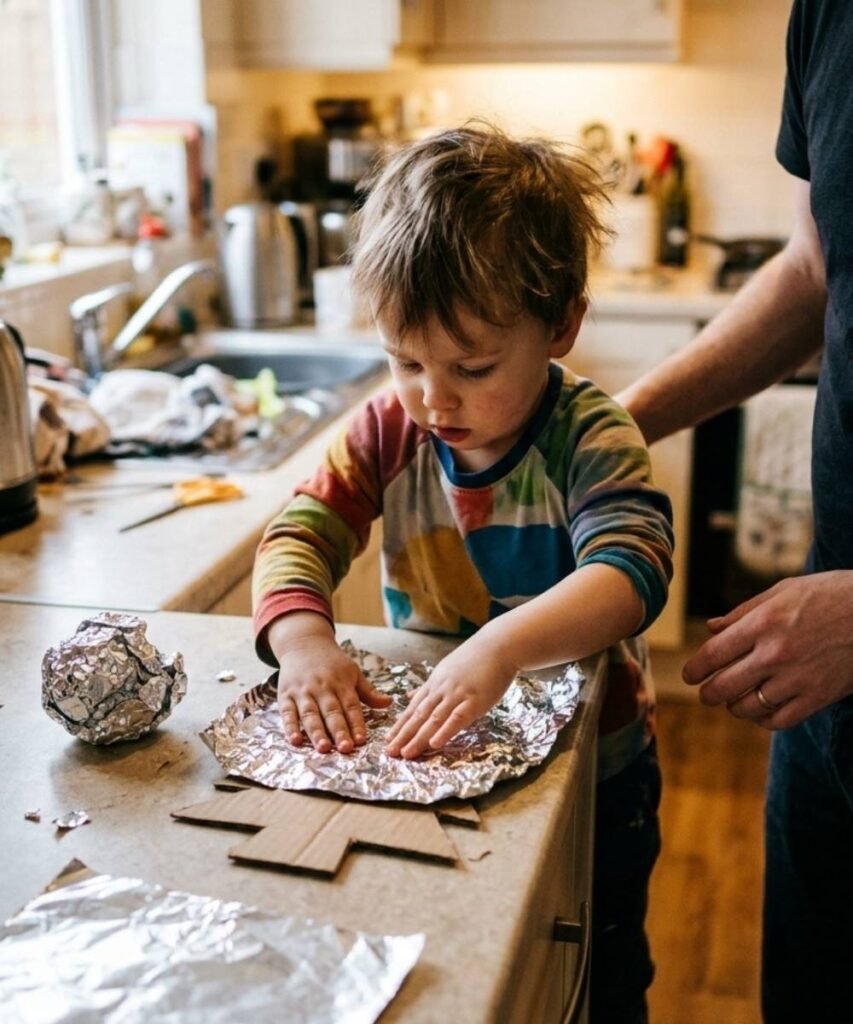
A sheet of kitchen foil makes noise, catches light and changes shape under small hands, which is most of what a two-year-old wants from a material.
Cut a star or a tree from thin cardboard, lay a square of foil over the top, and show your child how to press it down around the edges. Their hands will do the rest. Crumpled patches and torn corners are part of how it looks.
Once the foil is pressed on, some children like to scribble over it with a marker. The colour sits oddly on the shiny surface, which is half the appeal.
Scribble over the foil. A permanent marker sits strangely on the shiny surface and the colour pools in the creases, which most toddlers want to do again immediately. Keep it to the foil and keep the lid with you.
Swap the shape. Cardboard from a cereal box works better than thin card, because it holds up to firm pressing without folding in half.
Make it noisier. Give an extra square of loose foil alongside the ornament. Scrunching it into a ball is often the part they stay with longest.
5. Chunky Stamp Gift Tag
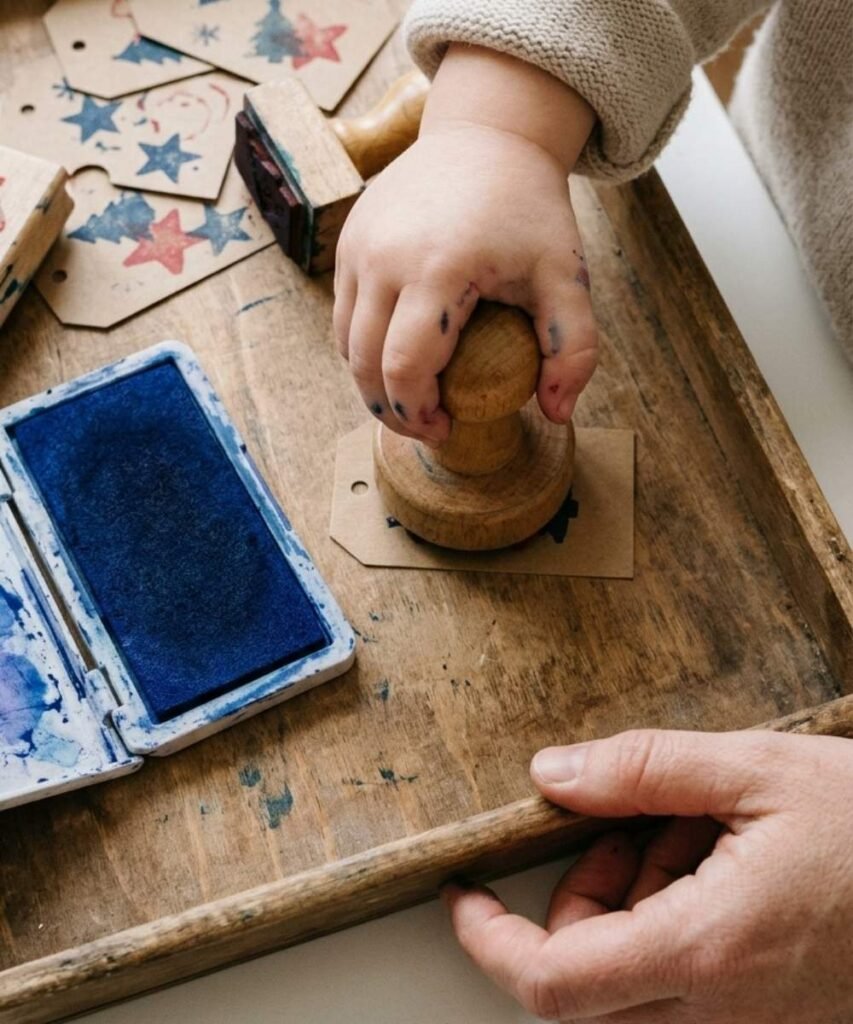
Stamping gives a toddler the same thunk and press satisfaction as painting, without a pot of water, a brush or a wiped floor.
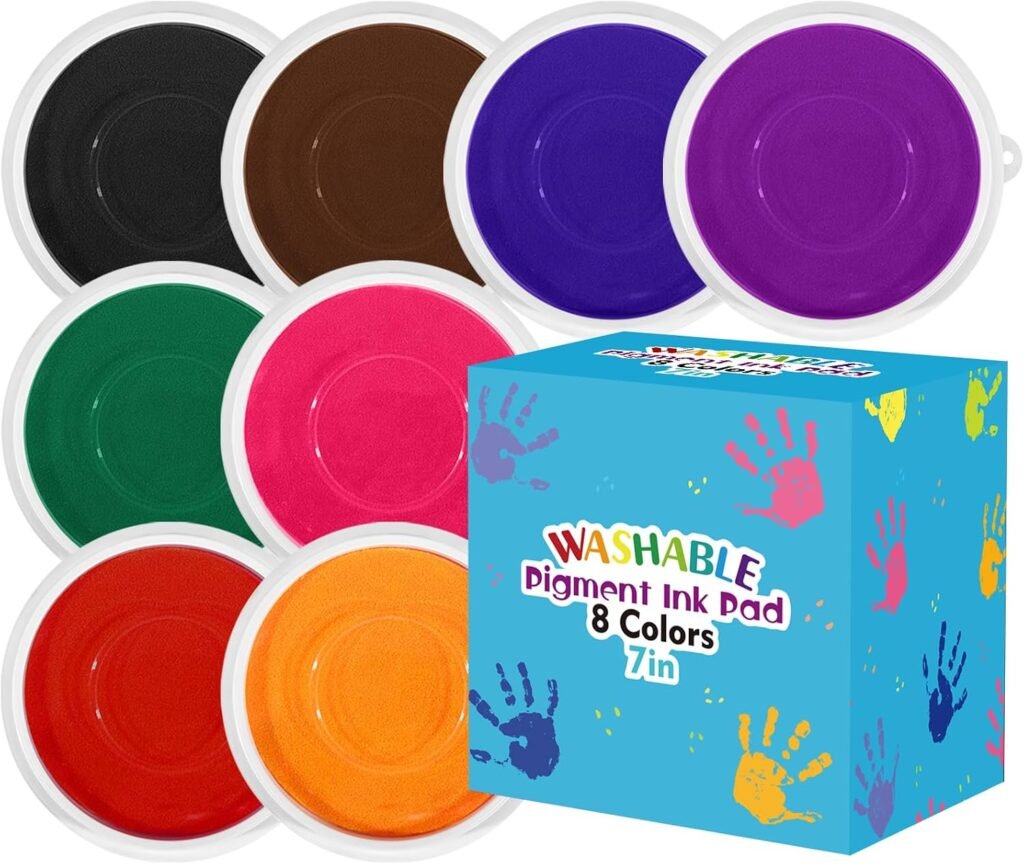
Choose stamps with big knob handles and a washable ink pad. Cardstock tags work better than paper here because they stand up to heavy hands. Open the pad, show one press onto the ink and one press onto the tag, then step back.
Ink pads are more forgiving than paint, but washable still means washable, not invisible. Roll sleeves up and keep the pad on a tray so it does not travel.
- Choose stamps with big knob handles
- Use cardstock tags, not thin paper
- Keep the pad on a tray so it stays put
- Show one press on the ink, one on the tag, then stop talking
- Roll sleeves up first
- Small flat stamps that need a pincer grip
- Permanent or craft ink, even on a tray
- Lining the tags up and asking for one stamp each
- Wiping their hands between presses
- Taking over when the stamps land on top of each other
6. Fill-Your-Own Shatterproof Bauble
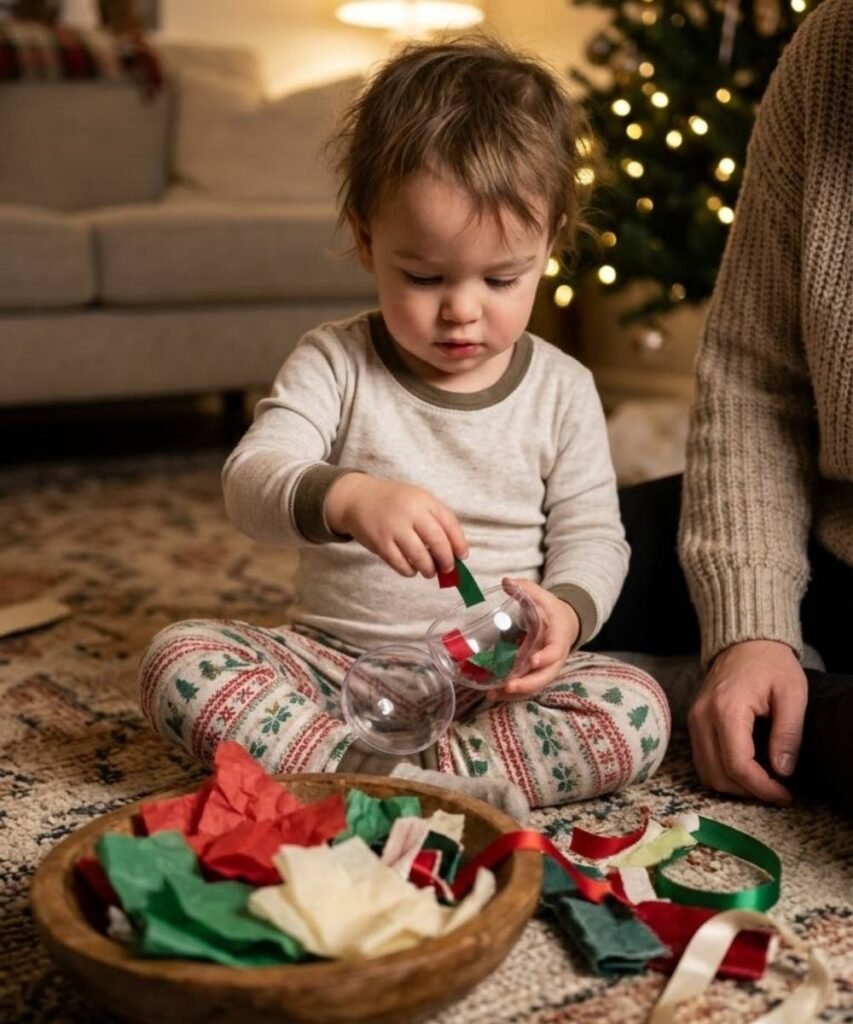
Somewhere around two, filling a container and tipping it straight back out becomes the most interesting job in the house. This ornament runs on exactly that.
Give your child an open shatterproof plastic bauble and a small bowl of soft fillers: torn tissue, short ribbon lengths, scraps of leftover wrapping paper. They will fill it, empty it, and fill it again several times before they are satisfied.
Seal the lid yourself at the end with a piece of tape underneath.
Keep beads, jingle bells and anything hard or round out of the bowl. Those are the fillers that make these baubles look good online and the ones that do not belong near a two-year-old.
7. Nature Find Disc
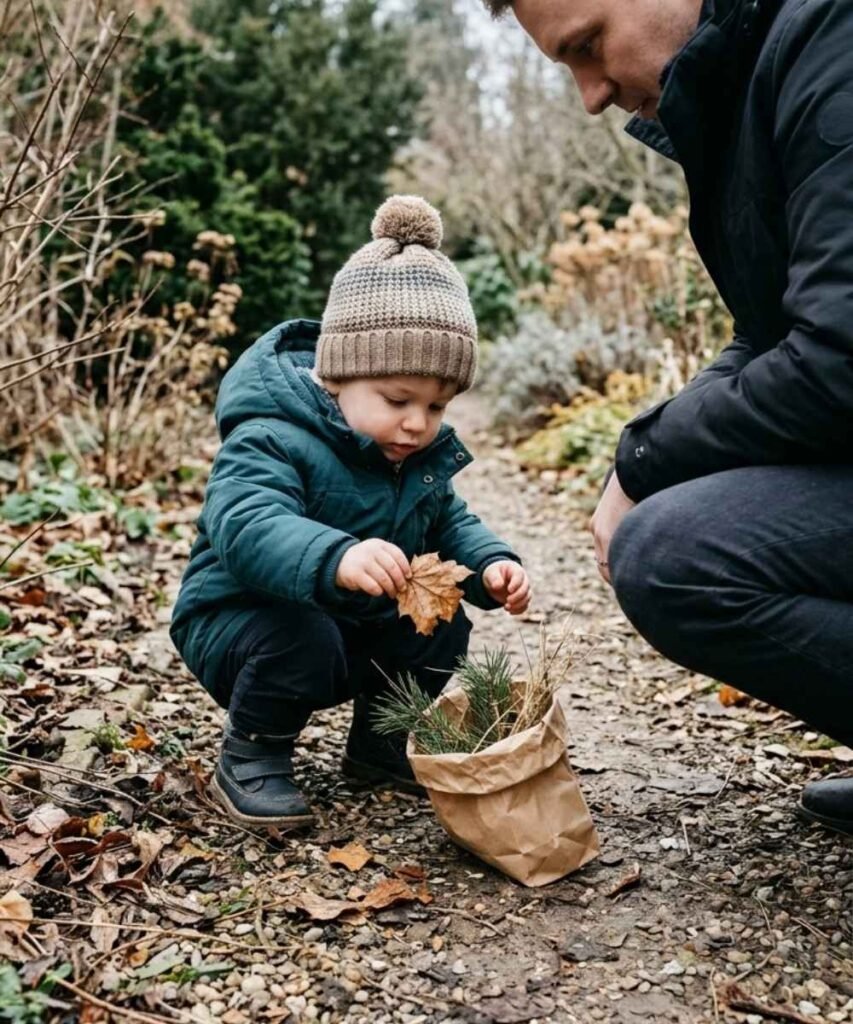
The walk is half the activity. Take a paper bag out on a cold afternoon and let your child collect whatever catches their eye, then make the ornament from what comes home in the bag.
Back inside, tape a circle of contact paper sticky side up on a tray. Small dry leaves, a few pine needles, a flat seed head and dried petals all press on well. Anything thick and lumpy will not sit flat.
Skip berries altogether. Plenty of winter berries are poisonous and all of them are the wrong size and shape for a toddler.
Cover with a second circle of contact paper, trim, punch a hole, and the walk is now hanging on the tree.
8. Ribbon Lacing Card
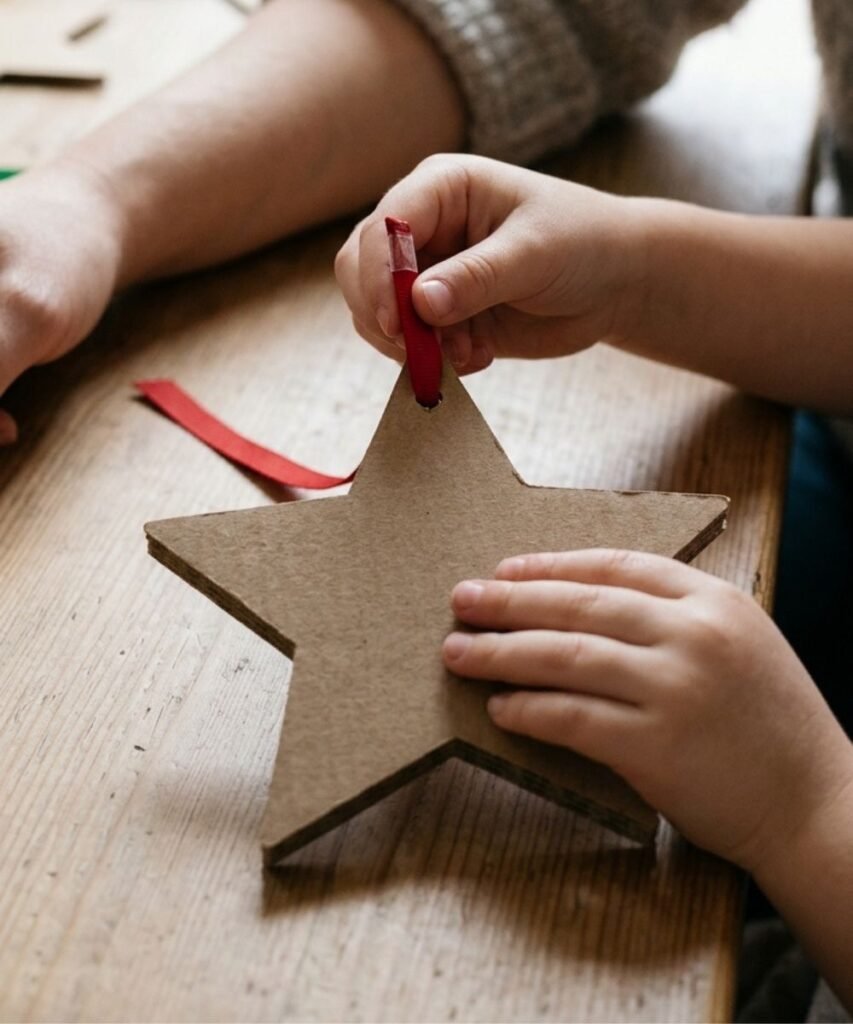
By about two and a half, a lot of children want a job with an order to it, something with a beginning and an end rather than open decorating.
Cut a thick card shape and punch six or seven large holes around the edge, well away from the border so they do not tear through. Wrap a short piece of tape tightly around one end of a ribbon to make a stiff tip, like a shoelace.
Threading in and out takes real concentration. Most toddlers go through two holes, pull everything out and start again, which is fine.
Keep the ribbon under thirty centimetres and put it away between sessions. Loose cord is never something to leave with a child on their own.
Keep each piece under thirty centimetres, roughly the length of your forearm. Long ribbon is a strangulation risk, and it is also too much for a toddler to manage through a hole.
Stay in the room for the whole activity, and collect the ribbon back up the moment your child walks away from it. Lacing cards are not something to leave in a toy box with the ribbon still threaded.
Wrap tape tightly around one end to make a stiff tip. Without it, most two-year-olds give up at the first hole.
9. Decorated Clothespin That Clips On
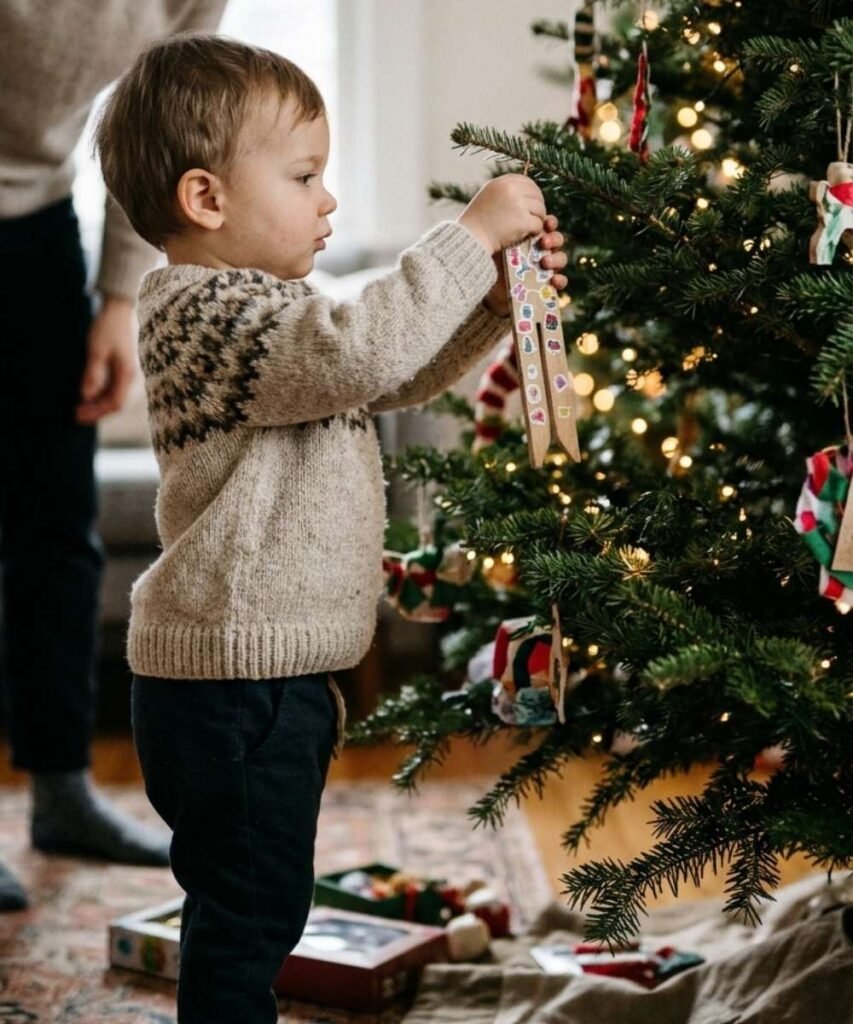
Most ornaments need an adult to lift the child up, loop the ribbon over a branch and hold everything steady. A clip-on ornament hands all of that back to the child.
Give your toddler a flat wooden dolly peg, a sheet of dot stickers and a few short pieces of washi tape. Once it is decorated, they clip it onto a low branch themselves, and then unclip it, and then clip it somewhere else, probably for the rest of the afternoon.
Flat dolly pegs suit this age better than spring clothespins, which pinch fingers. Put pegs away if your child is still mouthing wooden toys.
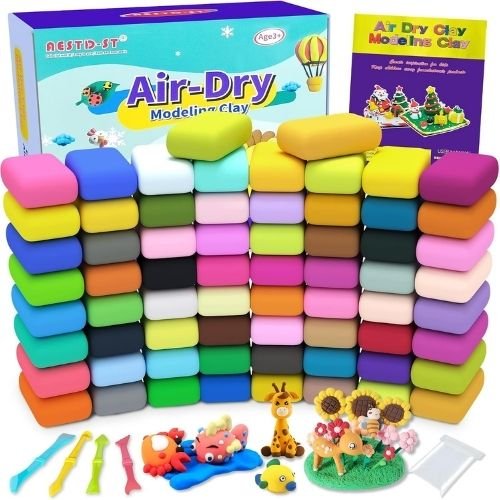
10. Air-Dry Clay Thumbprint
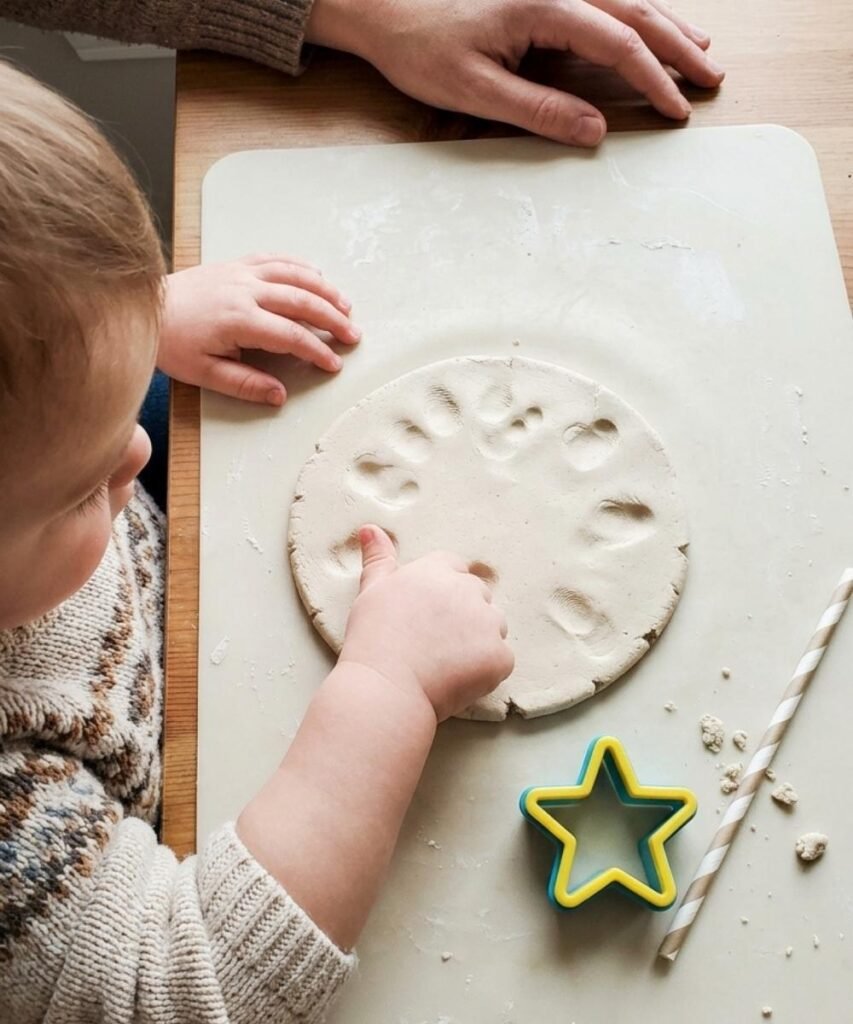
Clay is the messiest thing on this list, and it stays here because the result is worth a wiped table. A row of small thumbprints is the kind of ornament that gets taken out every December for the next fifteen years.
Roll the clay out yourself and press a cookie cutter through it. Your child’s part is the good part: pressing thumbs, fingers and palms into the soft surface as many times as they like. Poke the hanging hole before it dries and leave it flat for a day or two.
Air-dry clay and salt dough are not food, even where the packet says non-toxic. Salt dough in particular looks and smells enough like pastry that some toddlers will taste it.
11. Scribble Keepsake Tag
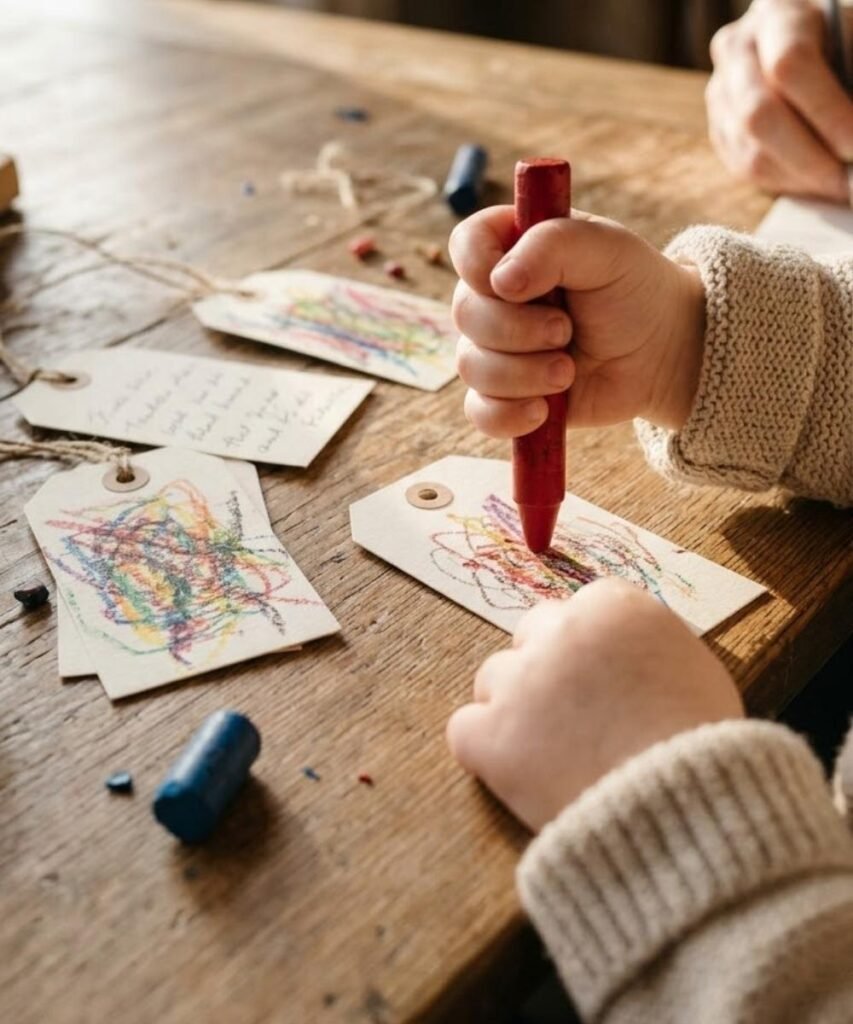
Scribbles look like nothing much in the moment. On a tree, years later, they look like a date stamp of exactly who your child was that winter.
Cut a tag from heavy cardstock, punch the hole, and offer two or three chunky crayons. Say nothing about what to draw. Whatever arrives on the card is the ornament, including the bit where they press so hard the crayon snaps.
On the back, write their first name, their age and the year in your own handwriting. That small step is what turns a scribble into something you will keep.
12. Yarn-Wrapped Shape
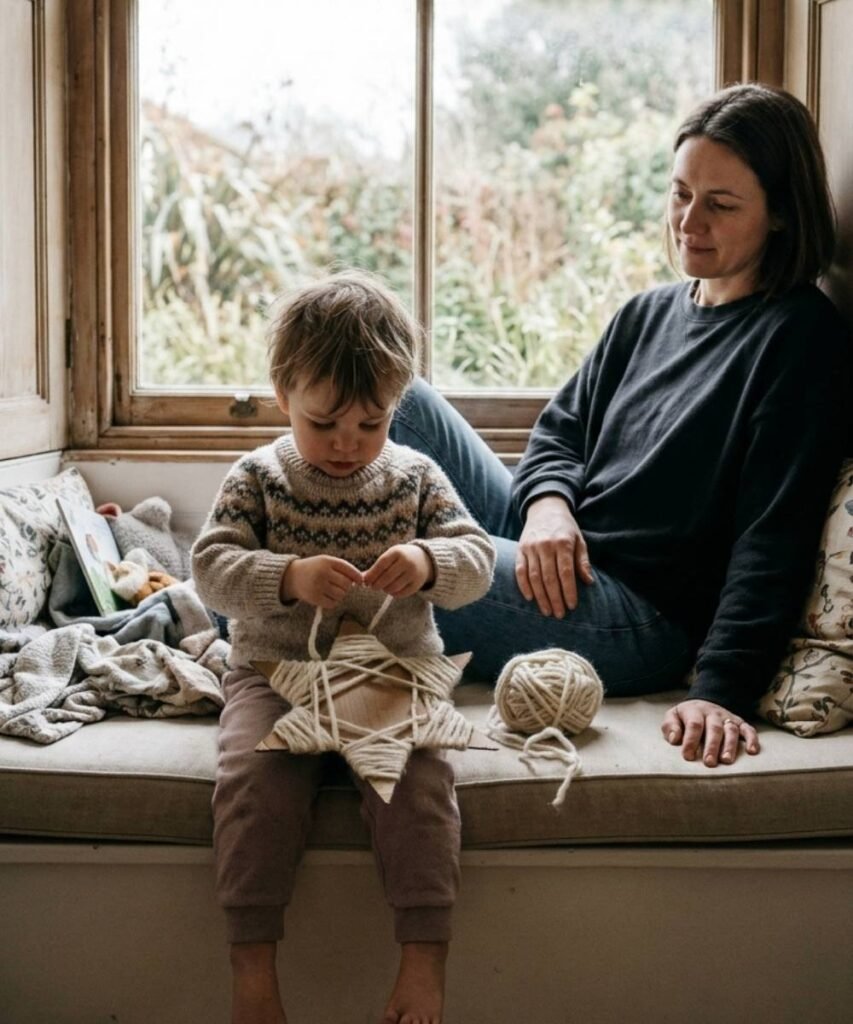
Short lengths of yarn turn a plain cardboard shape into something with real texture, and wrapping is forgiving in a way that few crafts are. There is no wrong direction and no neat version to live up to.
Cut small notches around the edge of a cardboard star so the yarn catches instead of sliding off. Tape one end down for your child, then hand over a length no longer than their forearm. When it runs out, tape down the next one.
Looser wrapping actually looks better, with cardboard showing through in patches. Collect the yarn up and put it away as soon as they are finished.
- Cut deeper notches so the yarn catches instead of sliding
- Use thick chunky wool rather than thin string
- Hand over one short length at a time and tape down each new end
- Start them off with two wraps, then let go
- Offer two or three colours and let them switch when one runs out
- Cut a shape with more points so there is further to travel
- Let them unwind it completely and start again
- Wrap a second shape alongside them with your own yarn
Keep the wonky ones
The ornaments your child makes this year will be lopsided, over-stickered and slightly torn, and that is exactly what makes them worth hanging. Write the year on the back of each one before it goes on the tree, then keep them in a shoebox with the decorations.
Start with the dot sticker bauble if you have ten minutes this afternoon. It needs nothing you do not already have in a drawer, and the first one usually leads straight into a second.
Save this list for a December afternoon when the weather is bad and nobody has a plan.