
Affiliate Disclosure: This post contains affiliate links. If you make a purchase through these links, I may earn a small commission at no extra cost to you. As an Amazon Associate, I earn from qualifying purchases. Thank you for supporting CozyClan!
Every list of Thanksgiving crafts for toddlers seems to start at age three. Scroll through one and you find scissors, googly eyes, dried beans, tiny pom poms, and a finished turkey that no child under four could have made without an adult quietly doing most of the work.
If your toddler is somewhere between twelve and twenty four months, none of that is going to go well. At this age, the first thing a new material meets is a mouth. Small pieces are out. Scissors are out. A long session is about five minutes.
That does not mean skipping the season. It means the craft has to be built differently: big pieces, washable materials, one clear action for the toddler, and every fiddly part handled by you before anything begins.
The twelve ideas below are shaped around that reality. Each one ends with something real you can put on a wall, a window, or the table, and none of them asks a one year old to do something their hands cannot do yet. If messy play is new territory at this age, [sensory play safety for toddlers] is worth five minutes first.
Table of Contents
What a Craft Looks Like Before Age Two
Lower the bar, and these afternoons get much better.
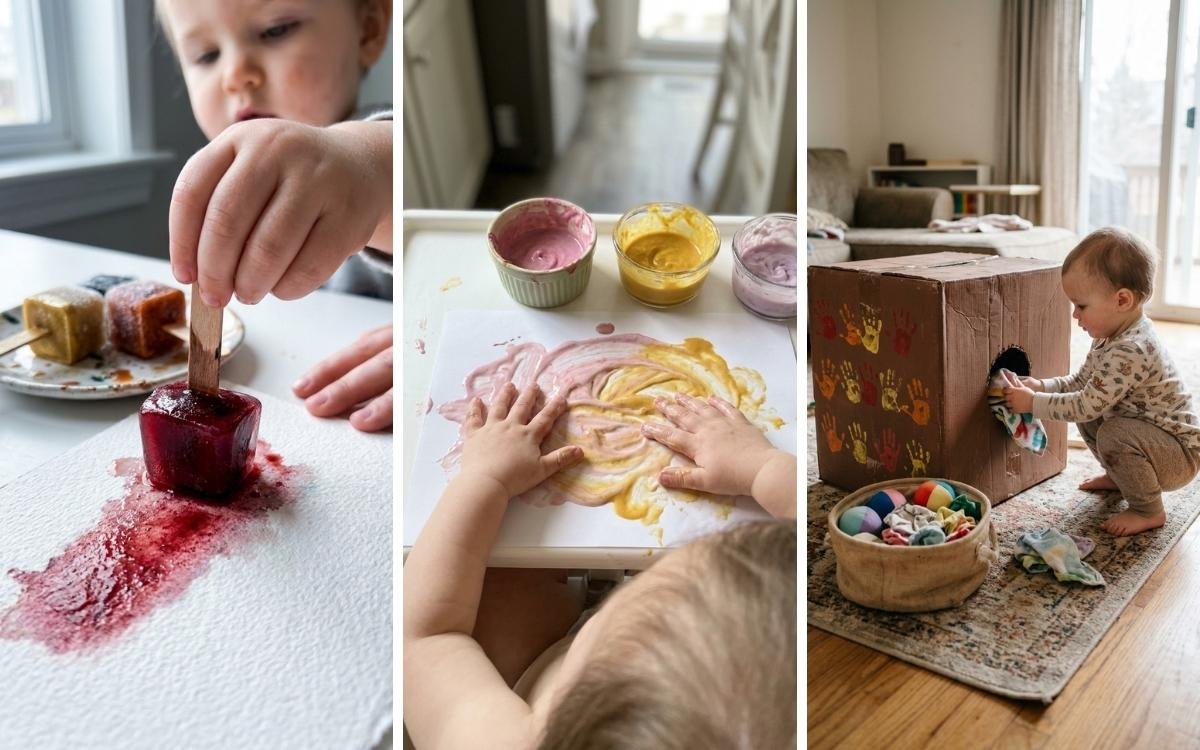
At this age the toddler contributes one action: a press, a dab, a roll, a stick. You handle the cutting, the taping, the pouring, and the cleanup. The finished thing is mostly yours, and that is fine. The point is not a flawless turkey. It is ten minutes of a child discovering that pressing a painted hand onto paper leaves a shape behind.
Expect short sessions. Expect at least one craft to end after ninety seconds. Set up somewhere you do not mind, keep a damp cloth in reach, and let the rest go.
1. Handprint Turkey Keepsake
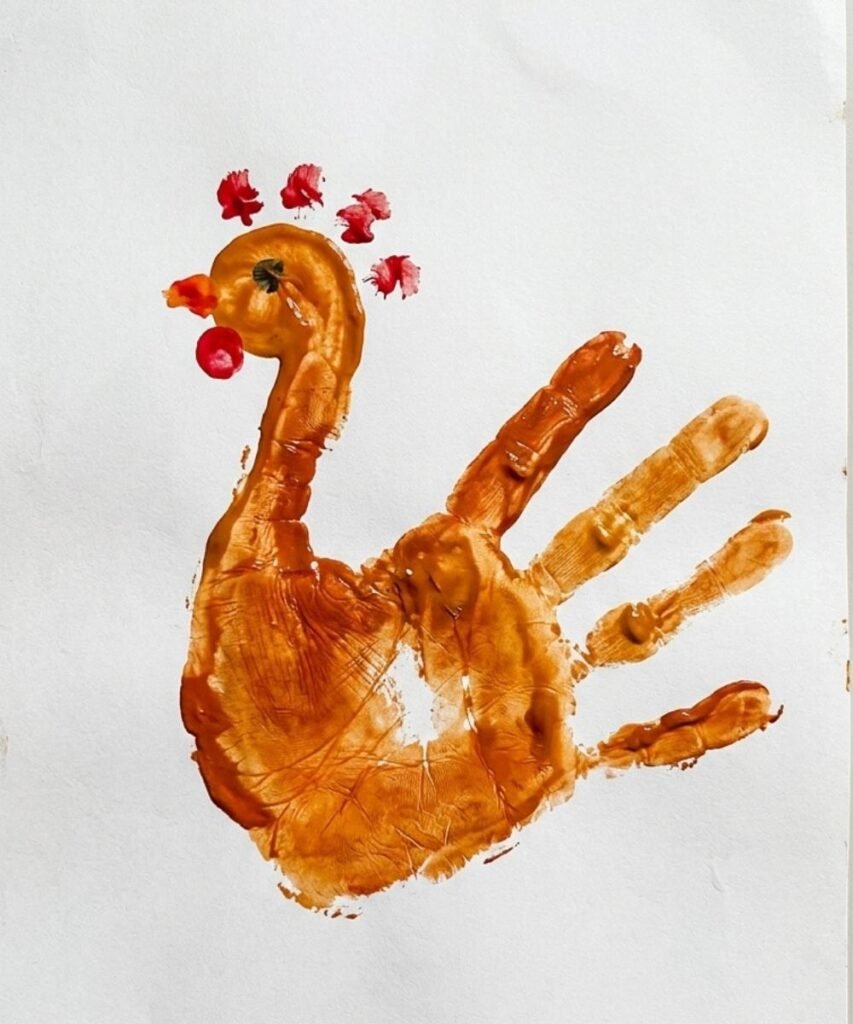
The handprint turkey appears on every list for a reason, and it genuinely works before age two because the toddler’s only job is to hold still for about four seconds.
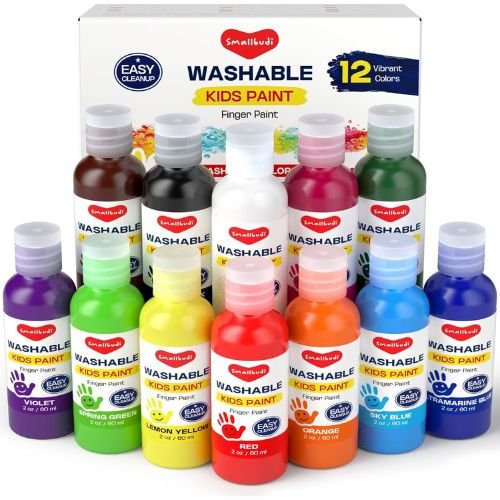
Paint the palm and fingers yourself with a soft brush. Most toddlers find a brush on the palm funny rather than alarming, though a few will pull back, and a warm damp cloth nearby stops that from turning into a whole situation. Press the hand down firmly, lift straight up, and add the beak and feet with a marker once everything dries.
A tip worth having: do the painting at the sink rather than carrying a painted hand across the room. The journey is where most handprints get smudged.
2. Taste-Safe Yogurt Paint in Fall Colours
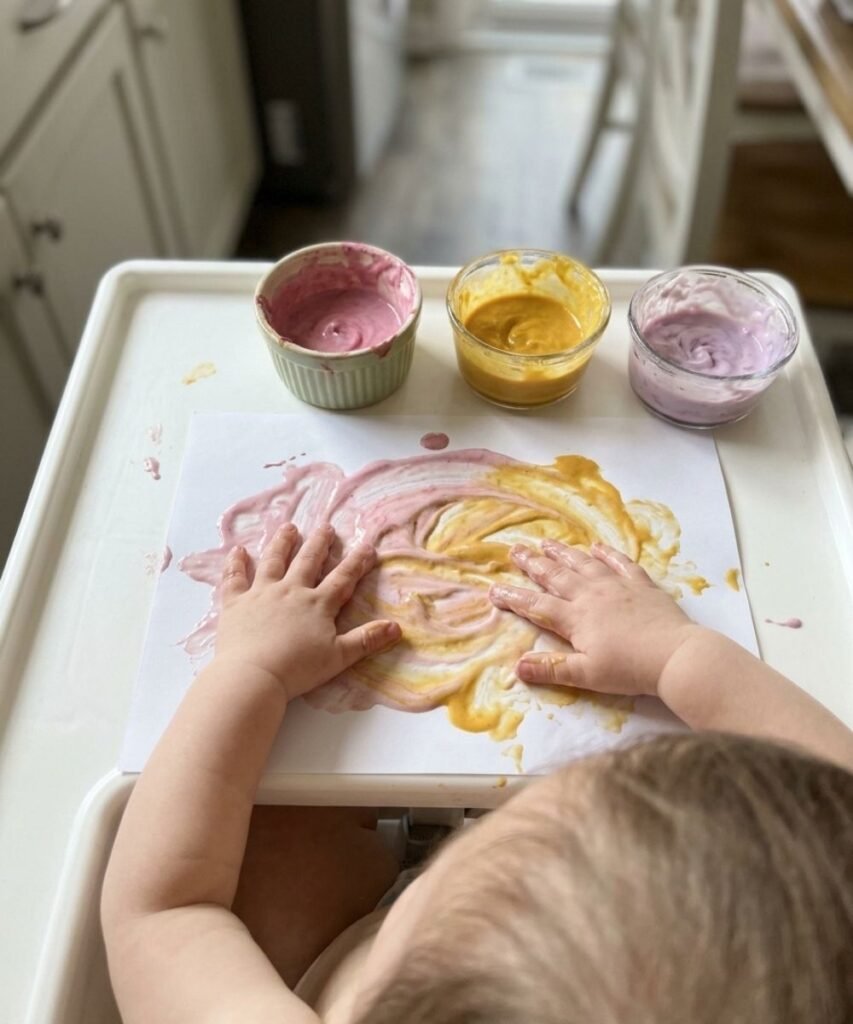
Most parents assume the answer to a toddler who eats paint is a firmer no. Before age two, the better answer is usually a different paint.
Stir plain thick yogurt with a little natural colouring, beetroot for deep red, turmeric for gold, a pinch of blueberry puree for purple. The texture spreads well on paper and the colours land in exactly the right range for the season. A toddler who samples it has eaten yogurt, which removes the main source of tension from the whole activity.
It stays wet longer than real paint and the colours fade as it dries, so photograph the result while it is fresh.
3. Fall Wreath with Fabric Scraps
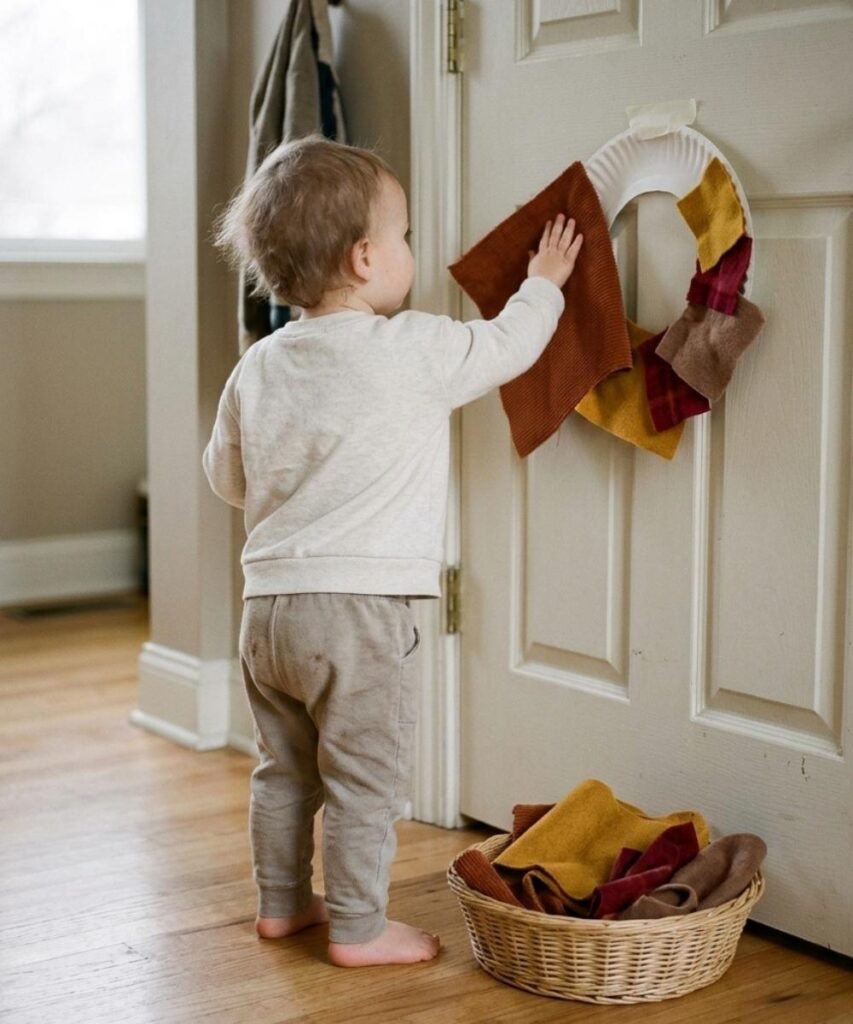
Rust, gold, and deep red fabric, torn or cut into pieces bigger than your toddler’s palm, pressed onto a ring of double-sided tape. That is the whole craft.
Cut the middle out of a paper plate, cover the remaining ring with loops of tape, and set the fabric pieces in a shallow basket beside it. Pressing fabric down is well within reach at this age, and the varied textures hold attention longer than paper does. Corduroy, felt, and an old flannel shirt all behave differently under a hand.
The result hangs on a door for weeks, and pieces can be added whenever the mood strikes.
Best moment for this one: a grey afternoon when going outside has stopped being an option.
4. Apple and Pear Stamping on a Paper Table Runner
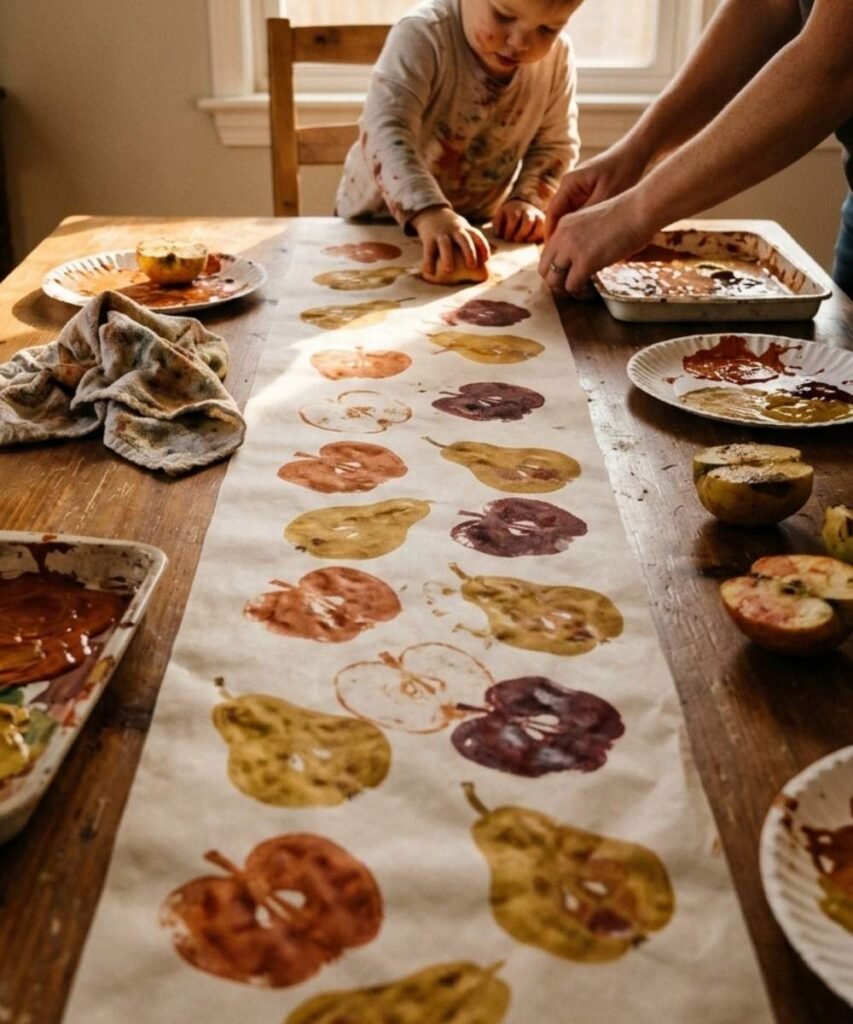
Two apples and a pear, cut across the middle, a shallow tray of washable paint, and a length of plain paper long enough to run down the middle of your table.
Halved fruit is the right size for this age because it fills a whole hand. There is no pinching, no grip strength required, just a press and a lift. Apples cut crossways leave a star shape in the core, which is the sort of small discovery that holds a toddler’s attention a little longer than a plain circle would.
To make it easier: push a fork into the skin side as a handle if the fruit keeps slipping.
□ A roll of plain paper, or taped together sheets
□ Washable paint in 2 or 3 autumn colours
□ A shallow tray or plate for each colour
□ Forks, if you want handles
□ An old towel under the whole thing
5. Painting a Real Mini Pumpkin
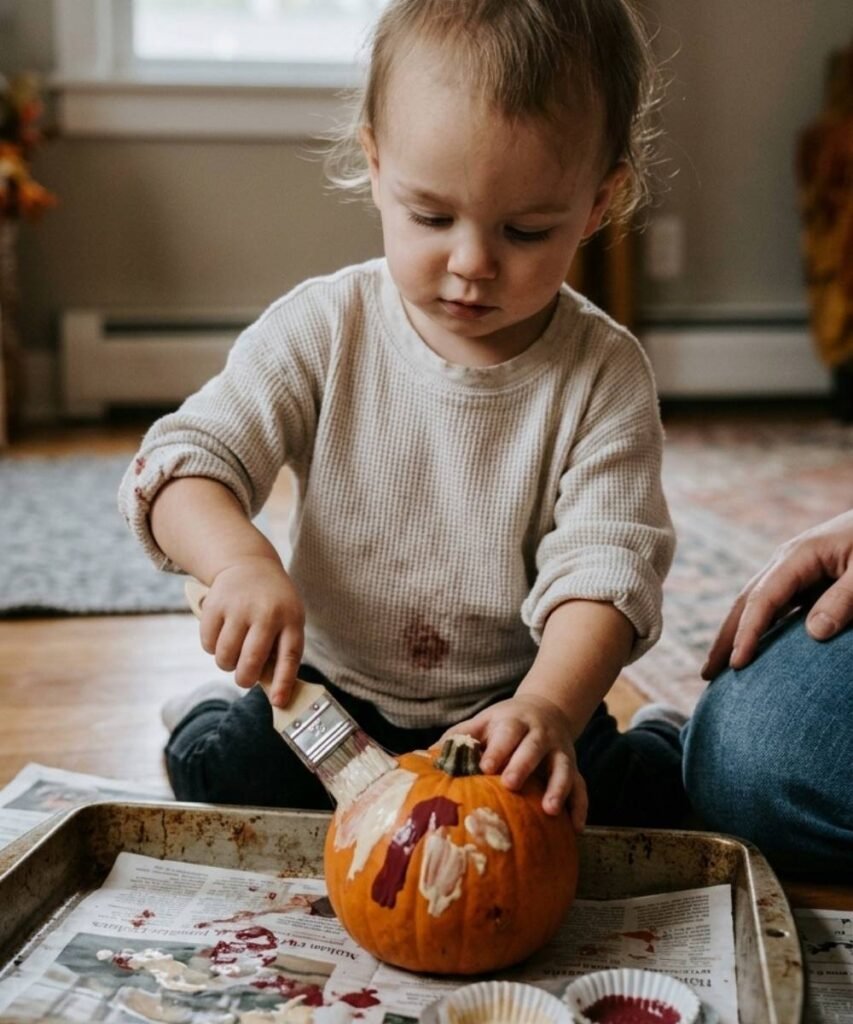
A pumpkin survives everything a toddler does to it, which is more than can be said for paper.
It rolls, it gets dropped, it can be painted again the next day once the first layer dries, and the finished object sits on a shelf through November looking like something a child actually made. The curved surface also asks for a different movement than flat work, more wrapping and chasing than back and forth, and toddlers tend to stay with it longer for that reason.
Choose one around four inches across or bigger, large enough that it cannot reach a mouth.
6. Roll a Ball Painting Inside a Box
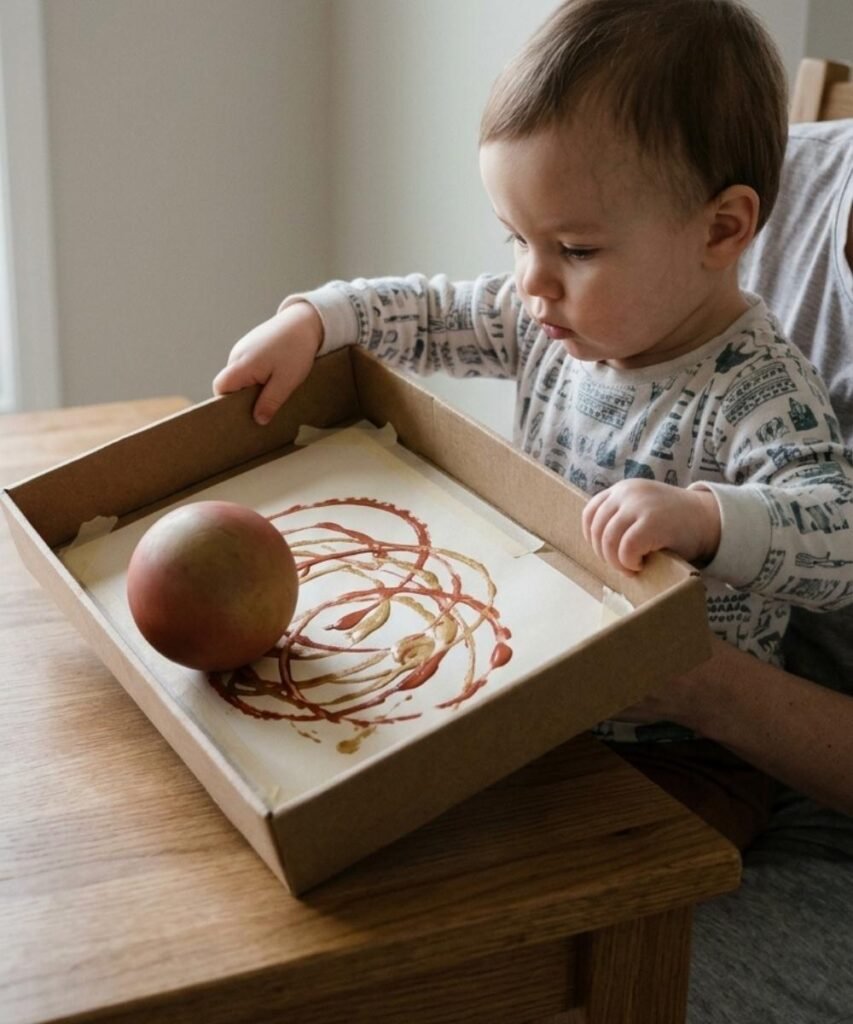
Some toddlers want nothing to do with paint on their hands. The usual advice is to encourage them through it, which mostly produces a crying child and a parent wondering why they bothered.
Tape a sheet of paper into the bottom of a shallow box, add a few spoonfuls of paint, drop in a ball, and let them tip and shake the box. The paint goes everywhere it should and nowhere else. The result is a tangle of autumn coloured tracks that looks far more deliberate than the process was.
Practical tip: a box with low sides works better than a deep one. Toddlers tilt rather than shake.
2. Spoon small blobs of 2 or 3 colours onto the paper
3. Add one ball, tennis ball size or larger
4. Hand over the box and let them tilt it
7. Tape Resist Thankful Sign
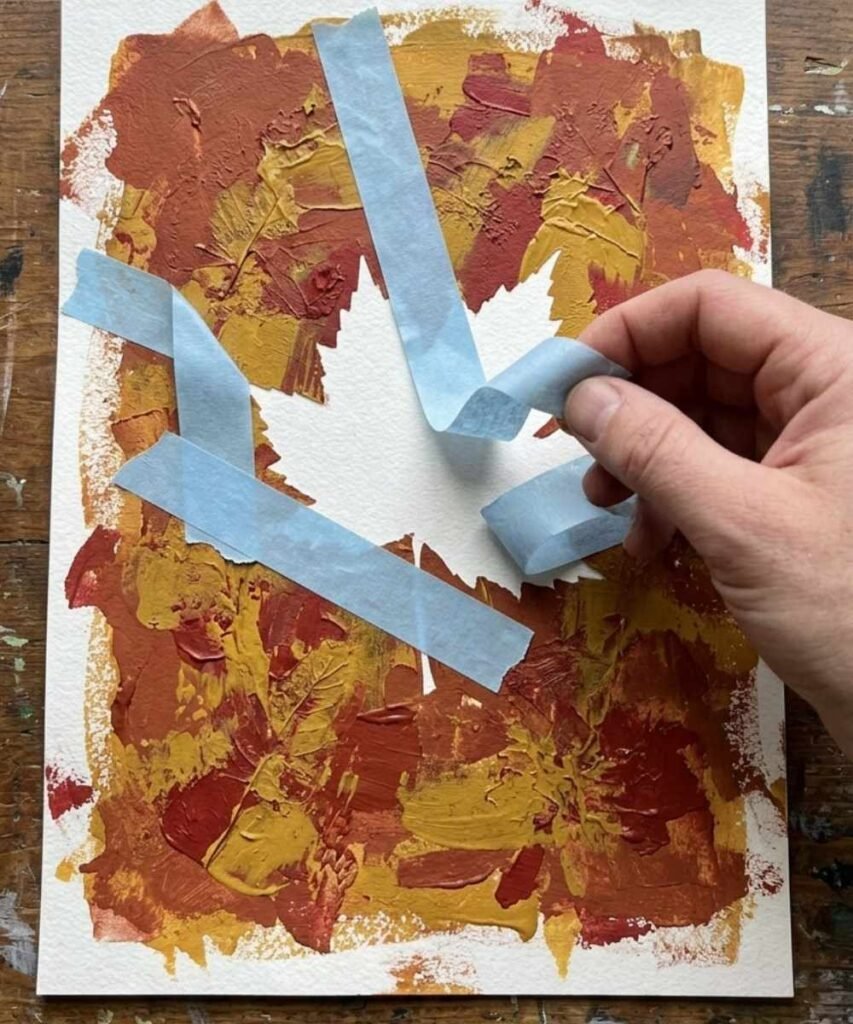
Lay a sheet of thick paper on the table and press strips of painter’s tape across it in a rough word or a simple shape before the toddler arrives.
Then hand over the paint and step back. They cover the whole sheet, tape included, with no instructions and no particular care. Once it dries completely, peel the tape away slowly and the clean white shape appears underneath.
What to expect: the toddler will not understand what is happening during the painting, and the reveal means more to you than to them. Peel it while they watch anyway. Around eighteen months, some do start to notice.
8. Frozen Paint Cubes
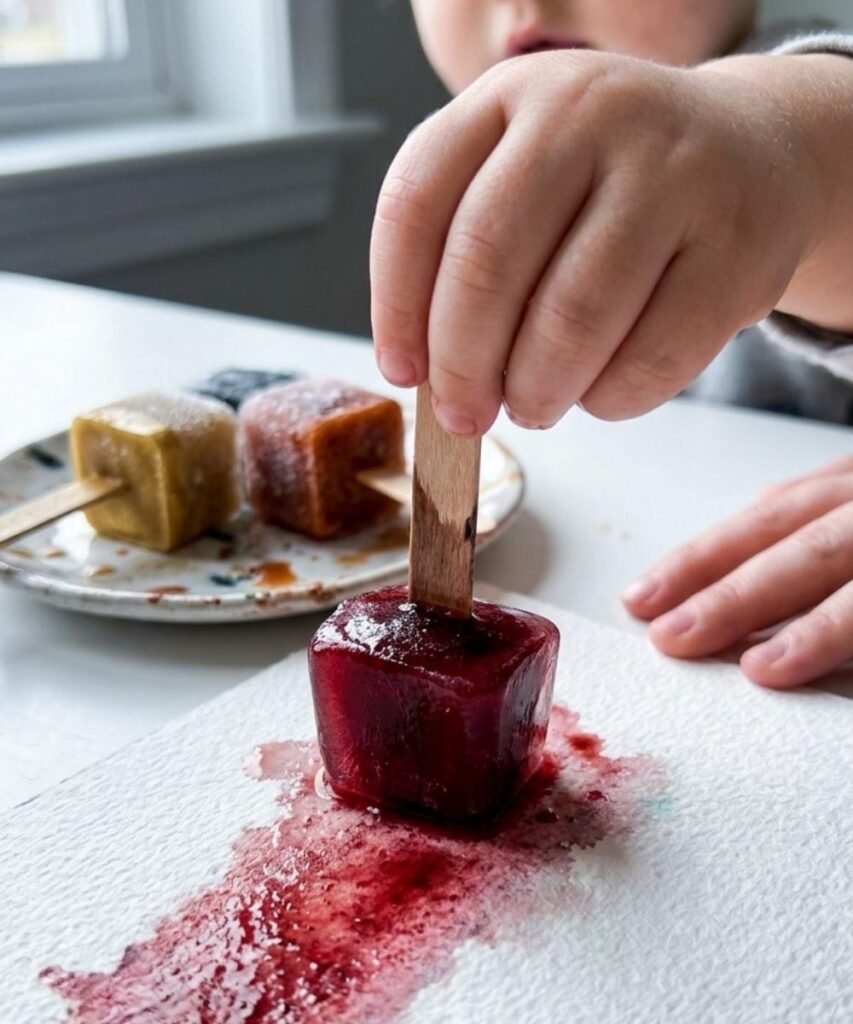
Paint freezes well, and a frozen cube behaves nothing like a brush.
Fill an ice cube tray with watered down washable paint, push a wooden craft stick into each one as it starts to firm, and freeze overnight. The next day they glide across thick paper, slowly at first and then faster as they melt, leaving soft blurred colour that blends where the colours meet. The cold alone holds attention, and the slowing down suits a toddler who normally moves through an activity in ninety seconds.
One real hazard: cubes shrink as they melt. Take them away once they are small enough to fit in a mouth.
| FROZEN CUBES | ORDINARY PAINT | |
|---|---|---|
| Pace | Slow, holds longer | Fast, often over quickly |
| Mess | Puddles as it melts | Spreads to hands and face |
| Prep | Night before | Two minutes |
| Watch for | Shrinking cubes, cold hands | Hands going to the mouth |
9. Giant Floor Mural
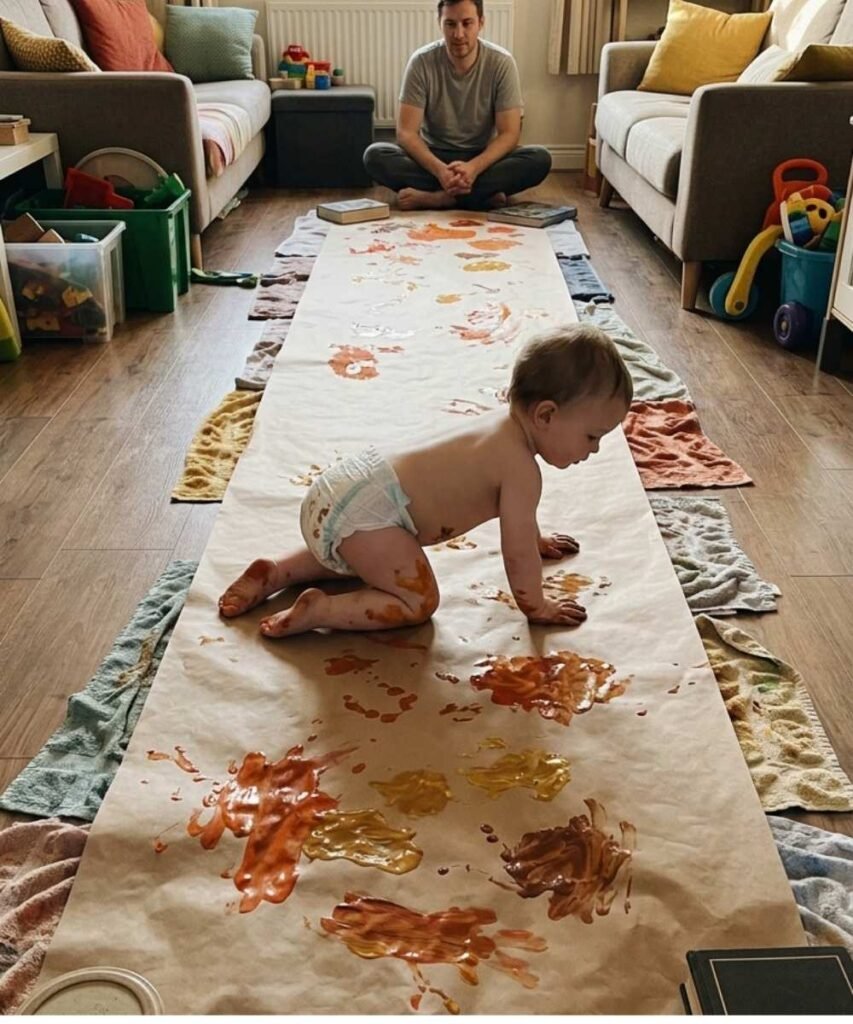
The rule here is simple: go bigger than feels sensible.
Roll out a length of paper across the floor, longer than your toddler is tall, and weight the corners. Scale is what keeps a one year old engaged. A sheet of A4 is finished in four seconds, but a stretch of paper they can crawl along invites moving, turning around, and coming back. Put out two or three colours and let them work with hands, a fat sponge, or the apple halves from earlier.
Adaptation: tape it to a wall instead if your toddler is a determined crawler who would rather be in the paint than on it.
10. Big Sticker Turkey on Cardboard
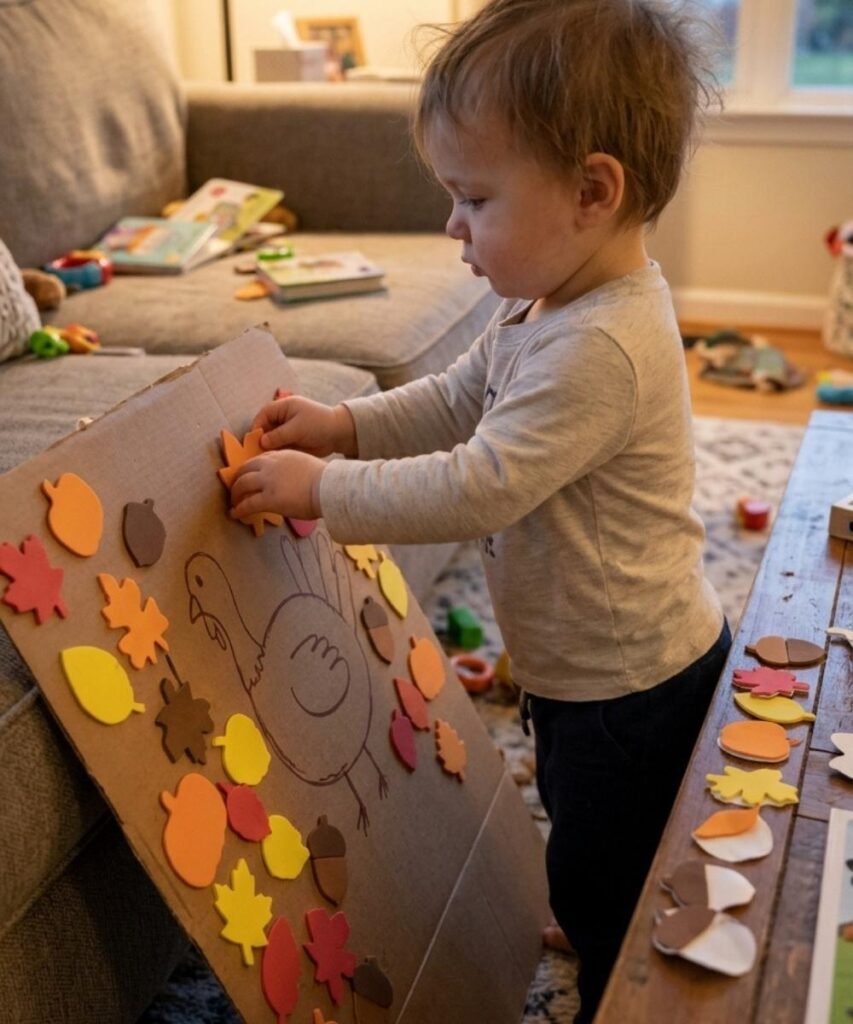
Stickers come in two kinds at this age, and the difference decides whether the next ten minutes work.
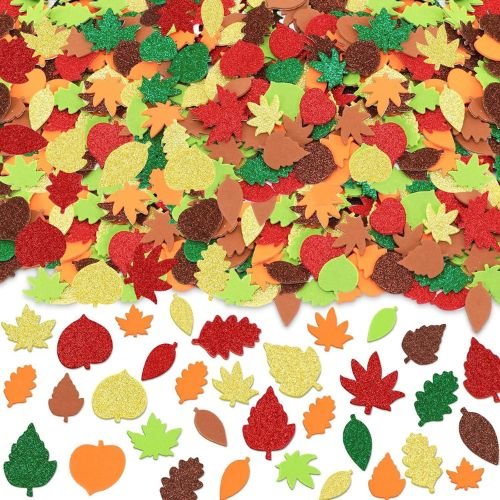
Small sheets of thin stickers need a fingernail to lift, which most toddlers under two cannot manage, and the frustration arrives fast. Large foam stickers, or any sticker you peel and hand over already lifted, work immediately. Draw a big turkey body on a cardboard box flap, pile the stickers around it, and let them cover the whole thing. Placement will be nowhere near the turkey. That is not the point.
Peeling for them is not cheating. It is the only version that works.
11. Cinnamon Applesauce Dough Hand Pressing
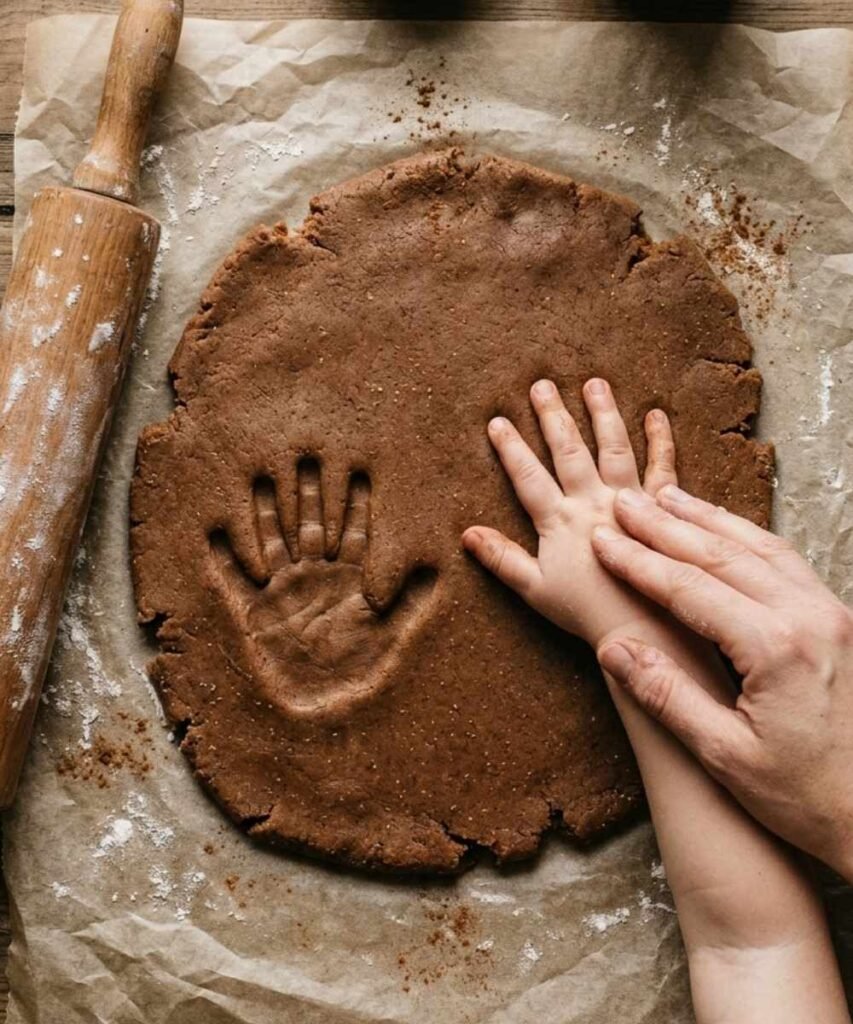
Mix one cup of applesauce with roughly one and a half cups of ground cinnamon, a little at a time, until it holds together like a firm dough. Roll it out thick, press your toddler’s hand into it, and leave it somewhere airy for two or three days to harden. The whole house smells like the season while it dries.
This replaces the salt dough version you have probably seen. Salt dough carries a genuine risk if a child eats a meaningful amount, and twelve to twenty four months is exactly the age that will taste it.
Cinnamon dough is still not food. Supervise closely, and if the same questions come up about other materials, [which sensory fillers are safe at this age] covers more ground.
12. Cardboard Box Turkey That Becomes a Play Prop
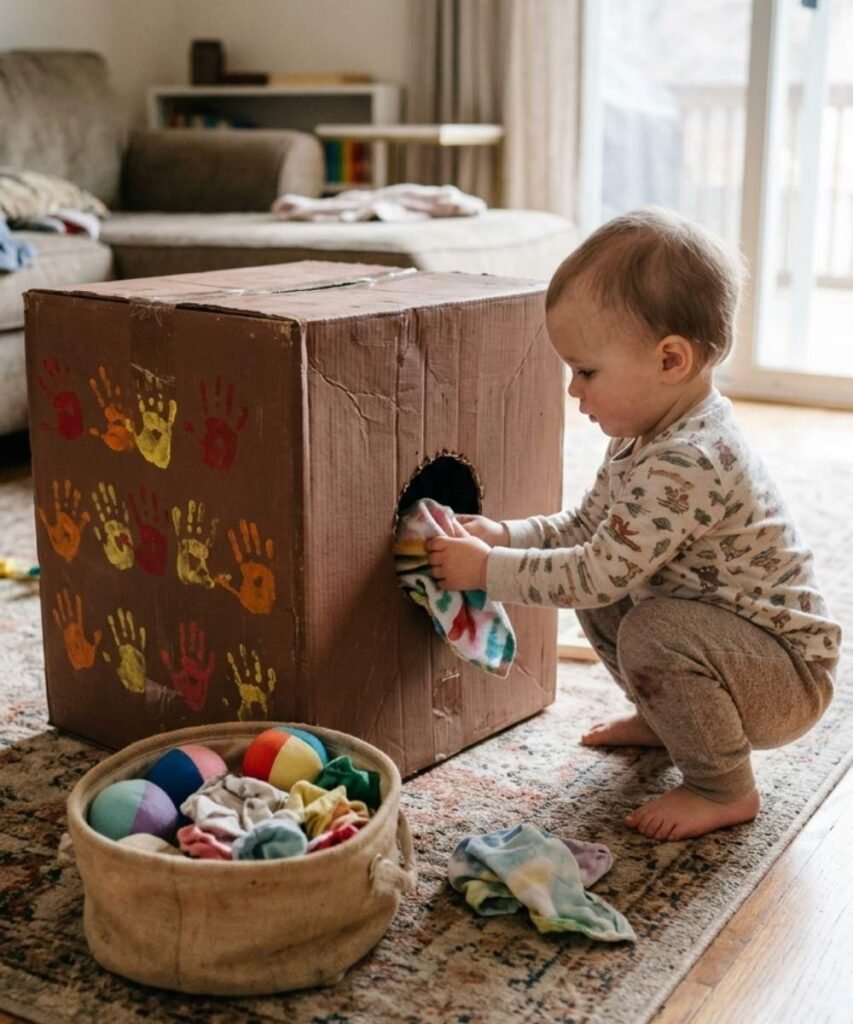
The box does not have to stop being useful once the paint dries.
Paint a large box brown together, let your toddler press handprints on the sides as feathers, and then cut a hole in the front that is big enough to post things through. What was a twenty minute craft turns into a week of carrying objects across the room and dropping them into a turkey. For a toddler just discovering that things go in and out of other things, the second half is worth far more than the first.
Next step: keep it out until the leftovers are gone.
• A place to hide one toy and find it again
• Somewhere to put the leaves collected on a walk
• A tunnel, if the box is big enough to open both ends
• A seat, briefly, until it gives way
Questions Parents Ask About Crafting Before Age Two
Before You Set Anything Out
Pick one. Not three. The temptation with a list of Thanksgiving crafts for toddlers is to plan a whole afternoon, and an afternoon is about four times longer than a one year old will give you.
Choose the one that matches the mess you can face today, set it up before you bring your toddler to it, and let the result be whatever it turns out to be. The handprint will still be on the fridge next November, and nobody looking at it will be able to tell how long it held their attention.
For the days between now and Thanksgiving, [easy indoor activities for any day] has plenty that need no setup at all.
Worth saving to a board for the next afternoon that needs rescuing.